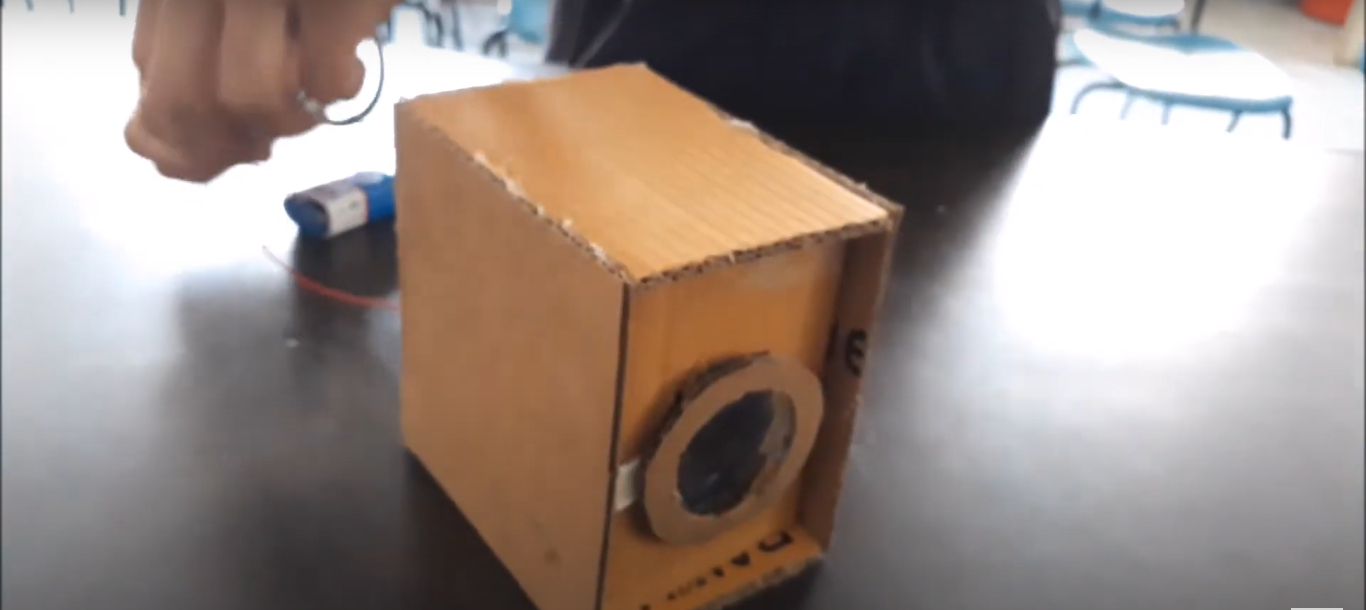
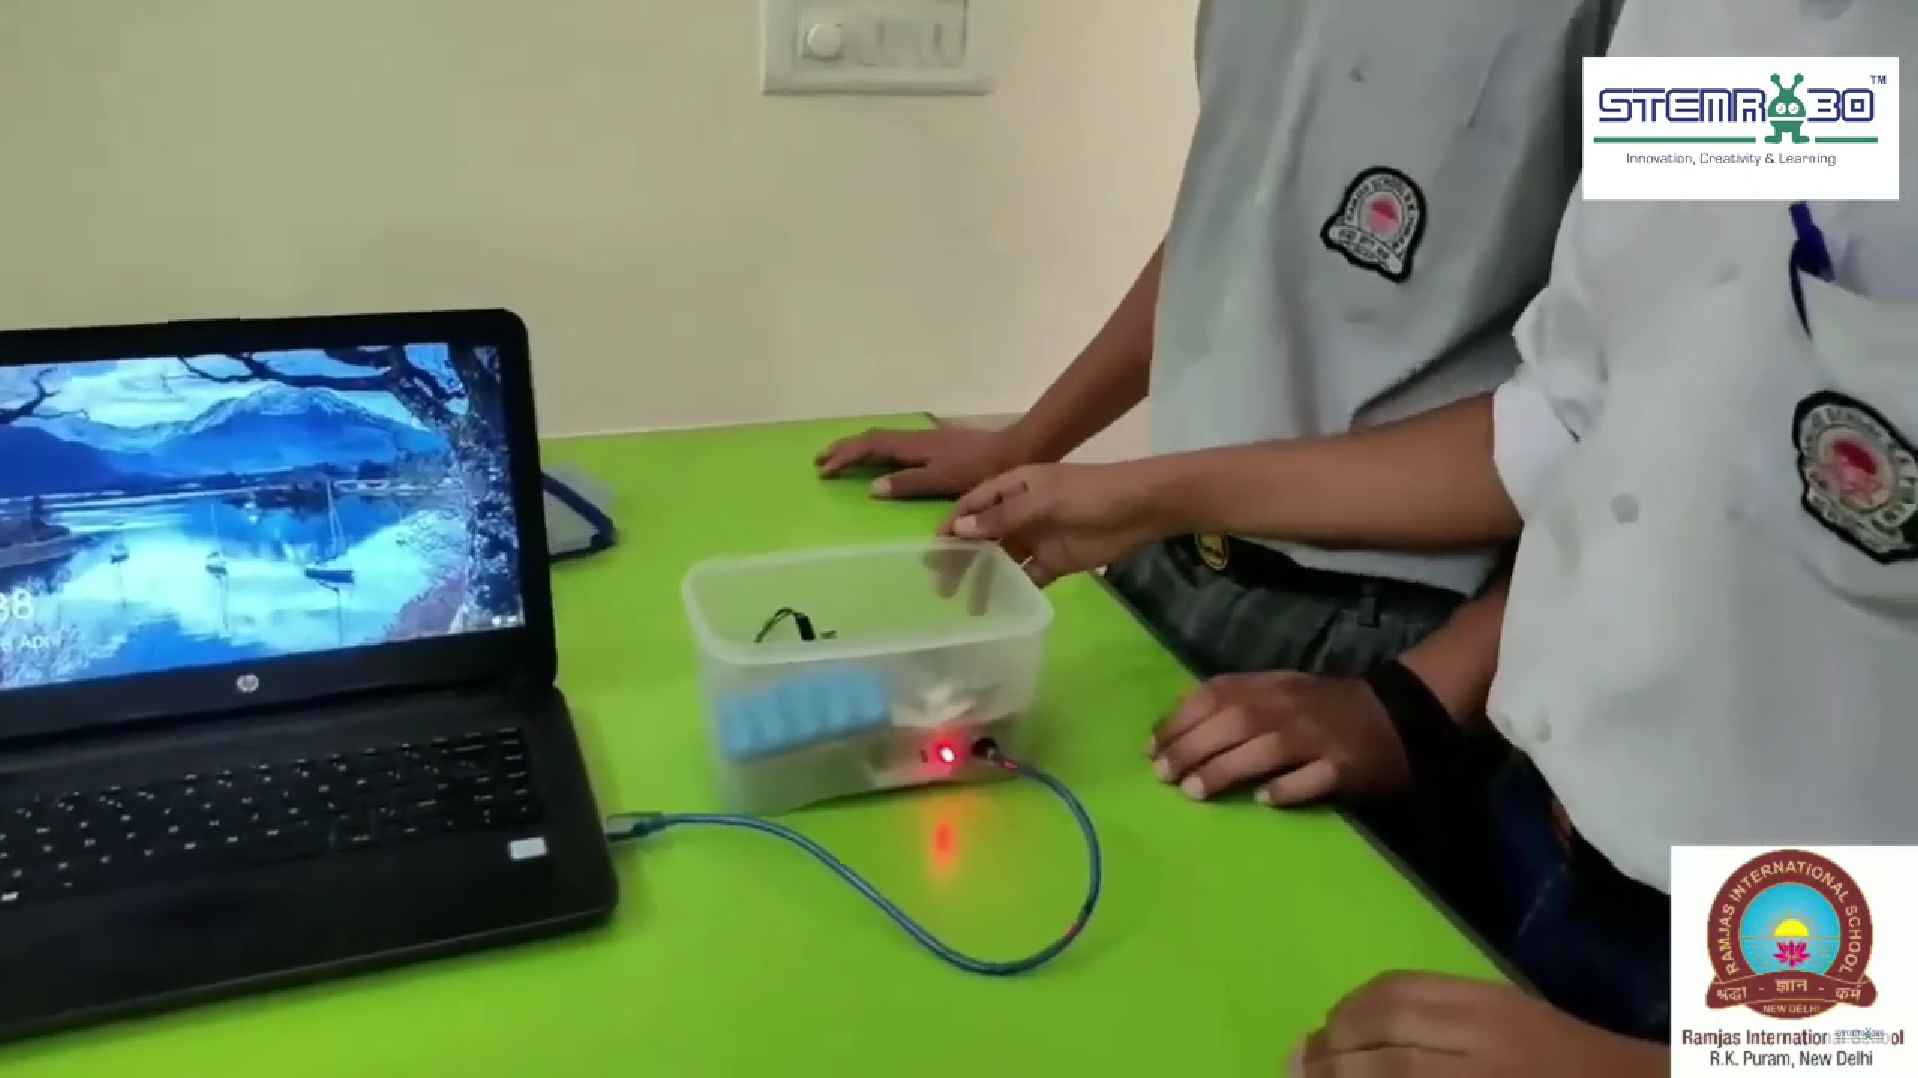
In this project, we’ll make an innovation using an Arduino that helps detect medicine. When the medicine is detected, it will turn on a buzzer and a blue LED. We’ll also have a green LED to show that the device is powered on and working properly. Let’s look at what we need and how it works!
Components Required:
- Arduino x1: This is like the brain of our project. It controls everything.
- Buzzer x1: This makes a sound when medicine is detected.
- Blue LED x1: This light turns on when medicine is detected.
- Green LED x1: This light stays on to show the device is working.
- IR Sensor x1: This sensor detects the presence of the medicine.
- Resistor x2: 220 ohm resistor to protect the LED.
- Jumper wires (male to male & male top female): Male to male and Male to Female Jumper Wires for connection.
How It Works:
- Power On : When we connect our device to power, the green LED will turn on. This tells us that the device is ready to work.
- Medicine Detection: The IR sensor is always looking for medicine. If it sees the medicine, it sends a signal to the Arduino.
- Alert: When the Arduino gets the signal from the IR sensor, it turns on the blue LED and the buzzer. This lets us know that medicine has been detected.
Steps to Build the Project:
- Connect the Green LED: Attach the green LED to the Arduino. This will show when the device is powered on.
- Connect the IR Sensor: Attach the IR sensor to the Arduino. This will detect the medicine.
- Connect the Blue LED and Buzzer: Attach both the blue LED and the buzzer to the Arduino. These will alert us when the medicine is detected.
- Write the Code: Write a simple code to control everything. The code will tell the Arduino to turn on the green LED when powered, and to turn on the blue LED and buzzer when the IR sensor detects medicine.
This project is a fun way to learn about how sensors and lights work with Arduino! It’s useful too, because it can help remind people to take their medicine.
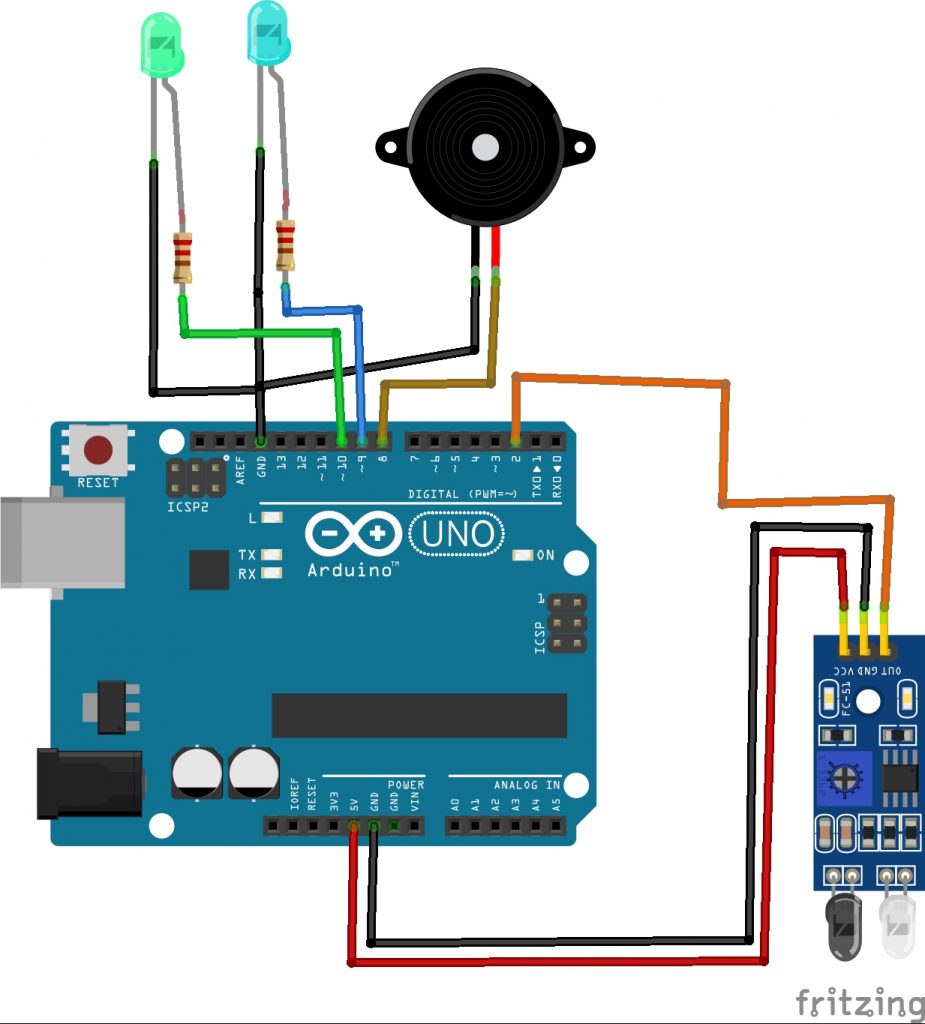
Connections:
IR Sensor:
- VCC: Connect to 5V on the Arduino
- GND: Connect to GND on the Arduino
- OUT: Connect to digital pin 2 on the Arduino
Buzzer:
- Positive lead: Connect to digital pin 8 on the Arduino
- Negative lead: Connect to GND on the Arduino
LEDs:
- Blue LED:
- Anode (+): Connect to digital pin 9 on the Arduino through a 220-ohm resistor
- Cathode (-): Connect to GND on the Arduino
- Green LED:
- Anode (+): Connect to digital pin 10 on the Arduino through a 220-ohm resistor
- Cathode (-): Connect to GND on the Arduino
SOURCE CODE:
// Define pin connections
const int irSensorPin = 2; // Pin connected to the IR sensor
const int buzzerPin = 8;   // Pin connected to the buzzer
const int ledBluePin = 9;  // Pin connected to the blue LED
const int ledGreenPin = 10; // Pin connected to the green LED

void setup() {
  // Initialize serial communication for debugging
  Serial.begin(9600);

  // Set pin modes
  pinMode(irSensorPin, INPUT);
  pinMode(buzzerPin, OUTPUT);
  pinMode(ledBluePin, OUTPUT);
  pinMode(ledGreenPin, OUTPUT);

  // Ensure the buzzer and LEDs are off initially
  digitalWrite(buzzerPin, LOW);
  digitalWrite(ledBluePin, LOW);
  digitalWrite(ledGreenPin, LOW);
}

void loop() {
  // Read the IR sensor value
  int sensorValue = digitalRead(irSensorPin);

  // Debugging: print the sensor value
  Serial.println(sensorValue);

  // If the sensor detects the medicine (sensor value high), turn the buzzer and blue LED on
  if (sensorValue == HIGH) {
    digitalWrite(buzzerPin, HIGH);
    digitalWrite(ledBluePin, HIGH);
    digitalWrite(ledGreenPin, LOW);
    Serial.println("Medicine detected - Buzzer ON, Blue LED ON, Green LED OFF");
  }
  // If the sensor does not detect the medicine (sensor value low), turn the buzzer and blue LED off, green LED on
  else {
    digitalWrite(buzzerPin, LOW);
    digitalWrite(ledBluePin, LOW);
    digitalWrite(ledGreenPin, HIGH);
    Serial.println("No medicine - Buzzer OFF, Blue LED OFF, Green LED ON");
  }

  // Add a small delay to avoid bouncing
  delay(100);
}