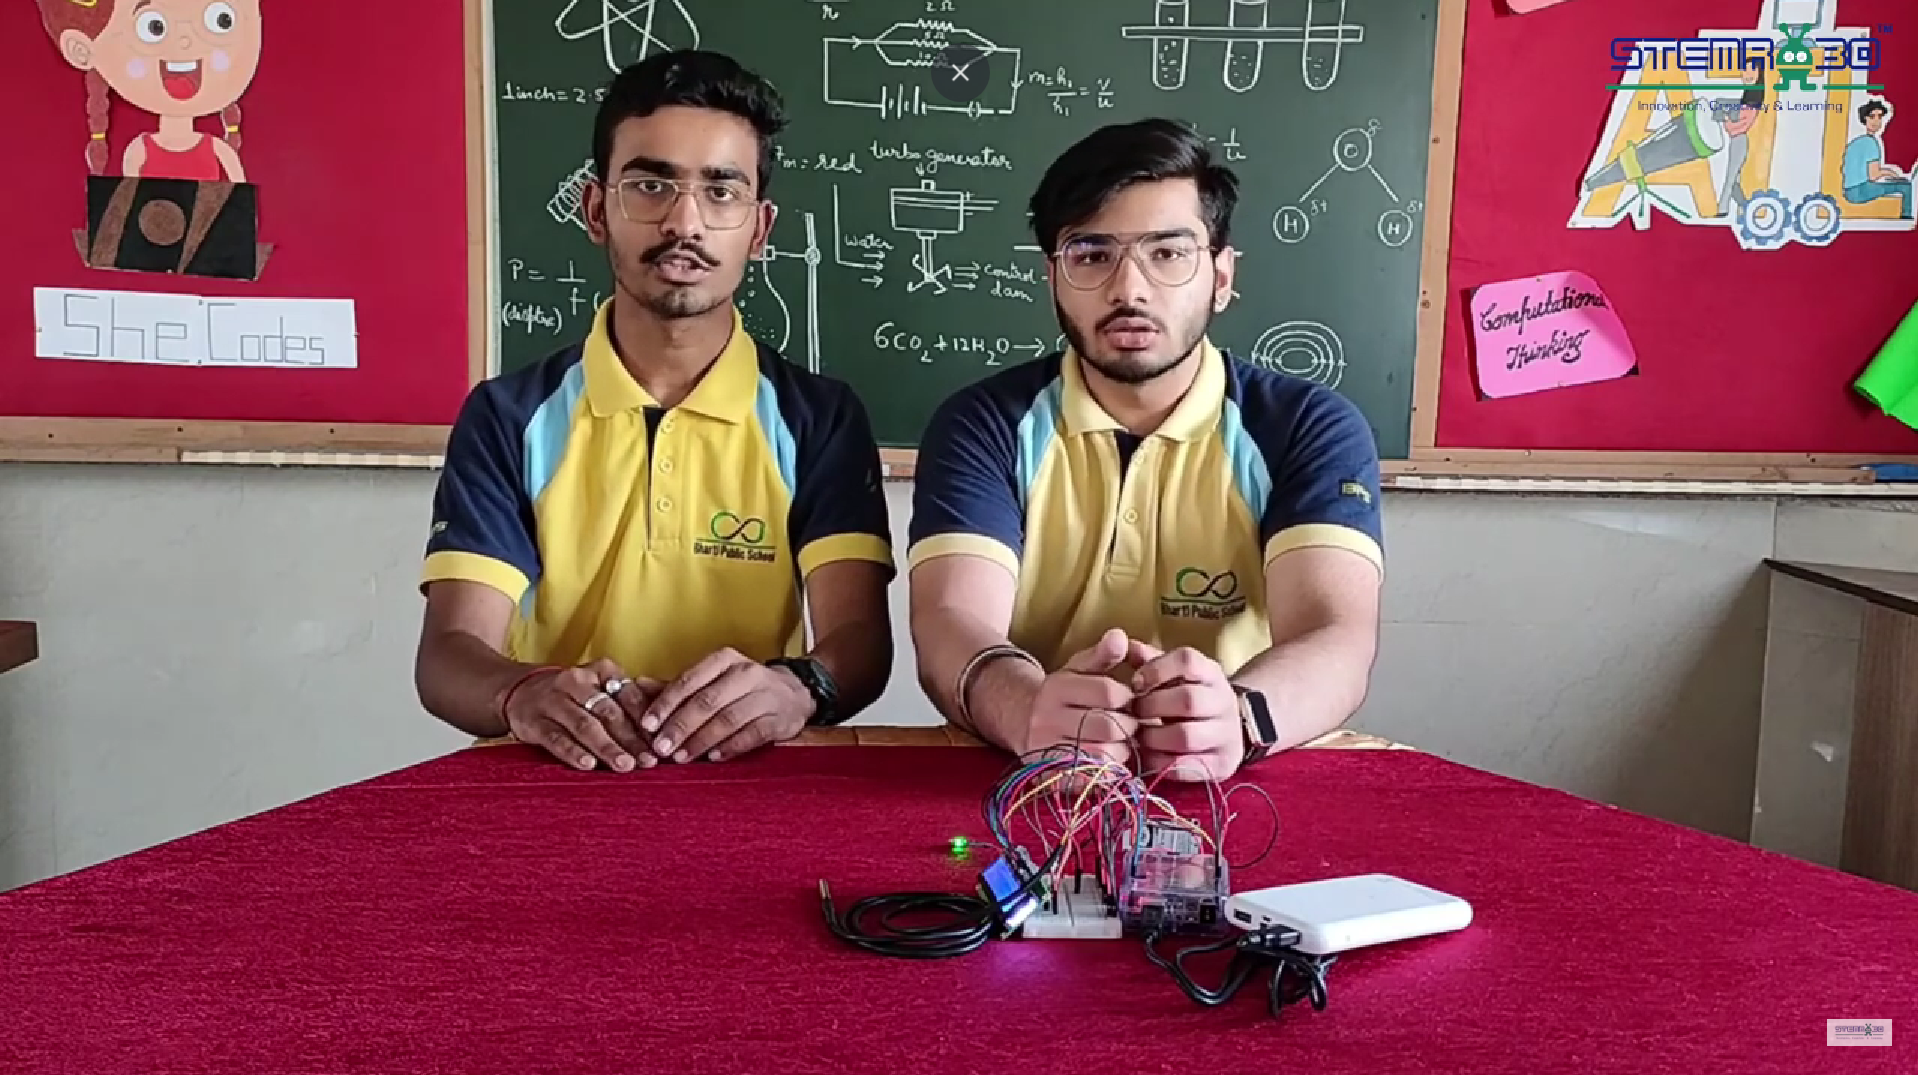
This project focuses on developing a health monitoring system using an Arduino, ESP32 WiFi module, LCD I2C, and a pulse rate detector. The system measures a person’s pulse rate and body temperature, displays the readings on an LCD screen and transmits the data to a laptop for real-time monitoring. This project is a great way to understand how different sensors and modules can work together to create a useful health application.
Components Required
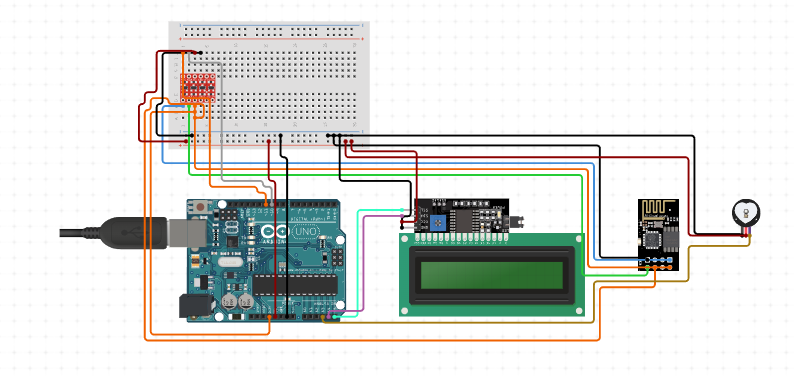
- Arduino: The main controller for the project.
- ESP32 WiFi Module: Enables wireless data transmission to the monitoring laptop.
- LCD I2C: Displays the pulse rate and temperature readings.
- Pulse Rate Detector: Measures the pulse rate.
- Connecting Wires: For connecting components.
- Breadboard: For building the circuit.
How It Works
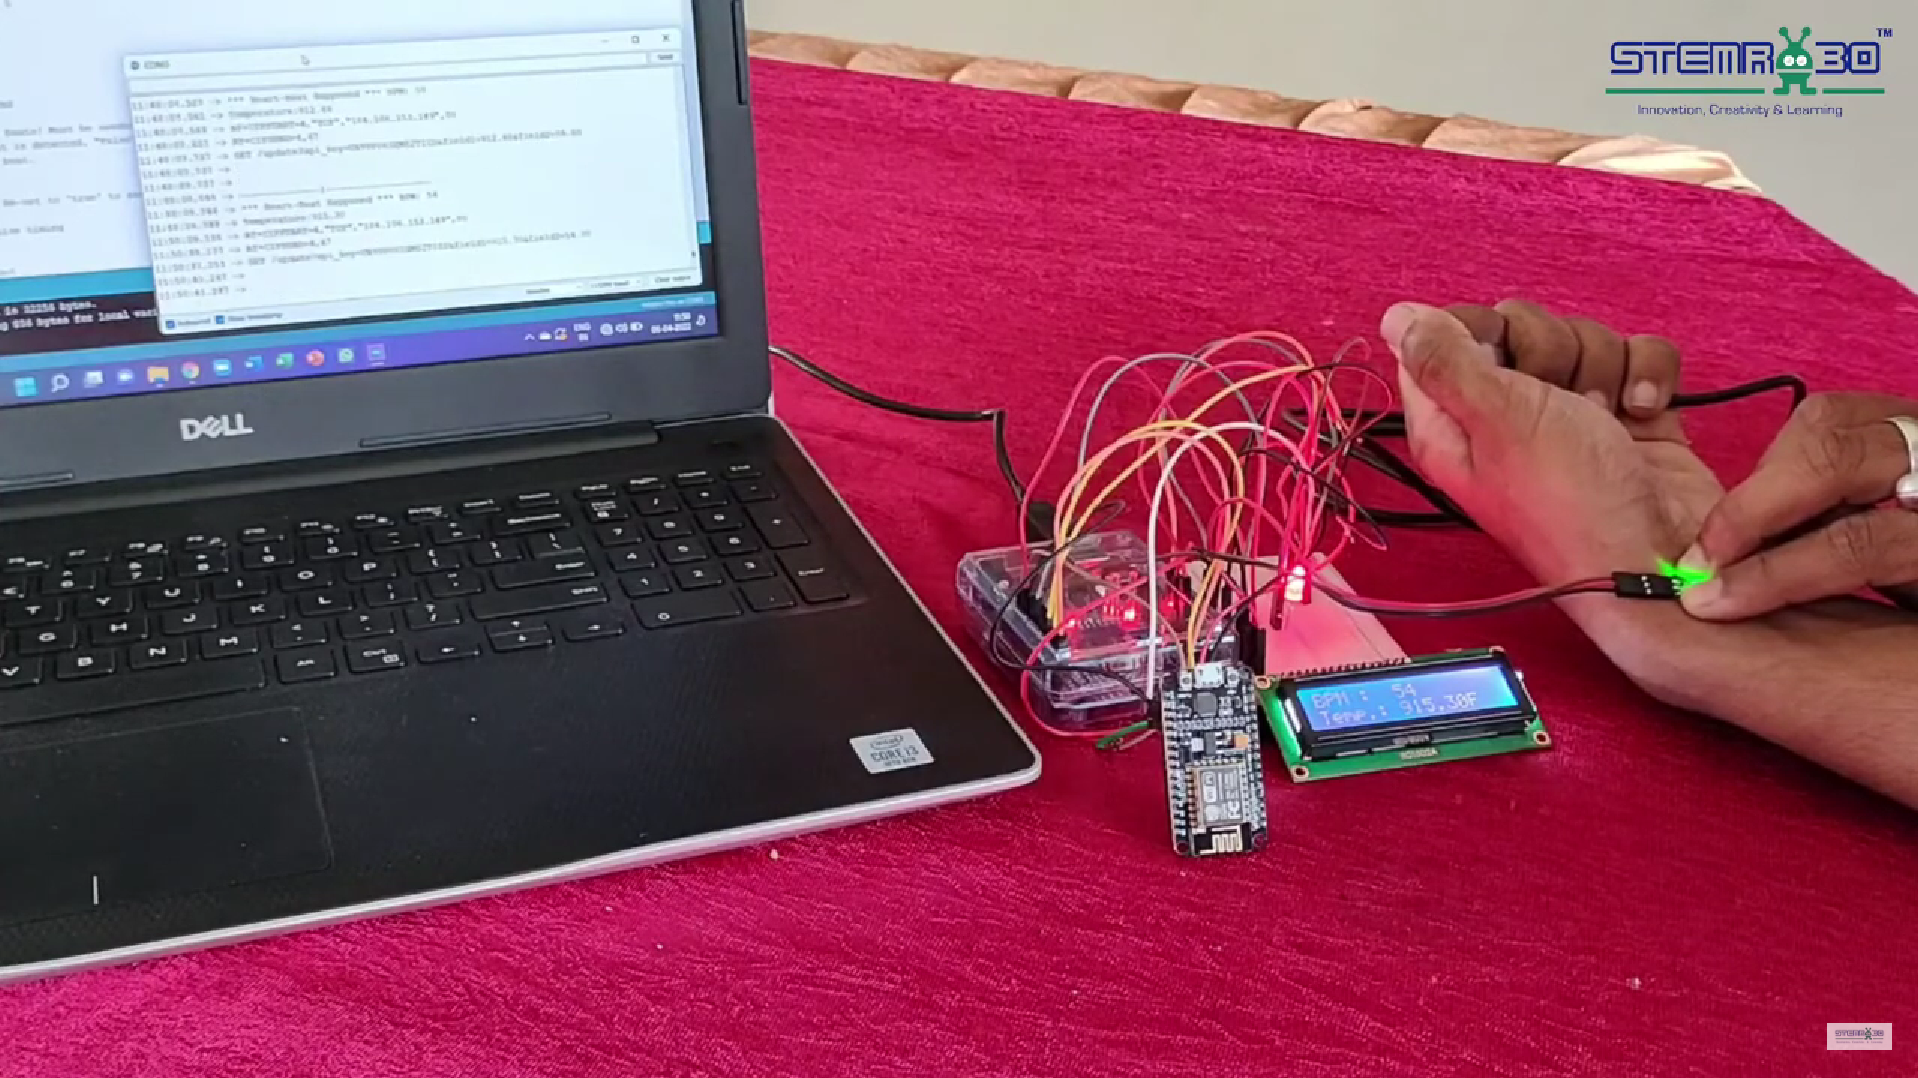
- Reading Sensors: The pulse rate detector and temperature sensor continuously measure the user’s pulse rate and body temperature. The Arduino reads these values from the sensors.
- Displaying Data: The Arduino sends the pulse rate and temperature readings to the LCD I2C, which displays the data in real-time for easy viewing.
- Sending Data: The ESP32 WiFi module connects to a WiFi network and sends the data to a predefined server or directly to a laptop. This allows for remote monitoring and data logging.
- Processing and Monitoring: On the laptop, the data can be monitored in real-time using a web interface or a custom application, making it easy to track the user’s health metrics.
Benefits and Applications
- Real-Time Monitoring: Allows for immediate tracking of vital signs.
- Remote Data Access: Health data can be accessed from anywhere with an internet connection.
- Educational Value: This project helps students learn about integrating sensors with microcontrollers, wireless communication, and data visualization.
SOURCE CODE:

#include <Wire.h>
#include <LiquidCrystal_I2C.h>
#include <WiFi.h>
#include <HTTPClient.h>

// Initialize the LCD with I2C address
LiquidCrystal_I2C lcd(0x27, 16, 2);

// Pin definitions
const int pulsePin = A0; // Analog pin for pulse rate sensor
const int tempPin = A1;  // Analog pin for temperature sensor

// WiFi credentials
const char* ssid = "your_SSID";
const char* password = "your_PASSWORD";

// Server URL
const char* serverUrl = "http://yourserver.com/data";

// Function to read temperature in Celsius
float readTemperature() {
  int reading = analogRead(tempPin);
  float voltage = reading * 5.0 / 1024.0;
  float temperatureC = voltage * 100;  // Assuming LM35 sensor
  return temperatureC;
}

// Function to read pulse rate
int readPulseRate() {
  int pulse = analogRead(pulsePin);
  // Add your pulse rate calculation logic here
  return pulse;
}

void setup() {
  // Start serial communication
  Serial.begin(115200);

  // Initialize the LCD
  lcd.init();
  lcd.backlight();

  // Connect to WiFi
  WiFi.begin(ssid, password);
  while (WiFi.status() != WL_CONNECTED) {
    delay(1000);
    Serial.println("Connecting to WiFi...");
  }
  Serial.println("Connected to WiFi");
}

void loop() {
  float temperature = readTemperature();
  int pulseRate = readPulseRate();

  // Display data on LCD
  lcd.clear();
  lcd.setCursor(0, 0);
  lcd.print("Temp: ");
  lcd.print(temperature);
  lcd.print(" C");
  lcd.setCursor(0, 1);
  lcd.print("Pulse: ");
  lcd.print(pulseRate);

  // Send data to server
  if (WiFi.status() == WL_CONNECTED) {
    HTTPClient http;
    String url = String(serverUrl) + "?temperature=" + temperature + "&pulse=" + pulseRate;
    http.begin(url);
    int httpResponseCode = http.GET();
    if (httpResponseCode > 0) {
      Serial.println("Data sent successfully");
    } else {
      Serial.println("Error sending data");
    }
    http.end();
  } else {
    Serial.println("WiFi not connected");
  }

  delay(1000); // Wait for 1 second before next reading
}