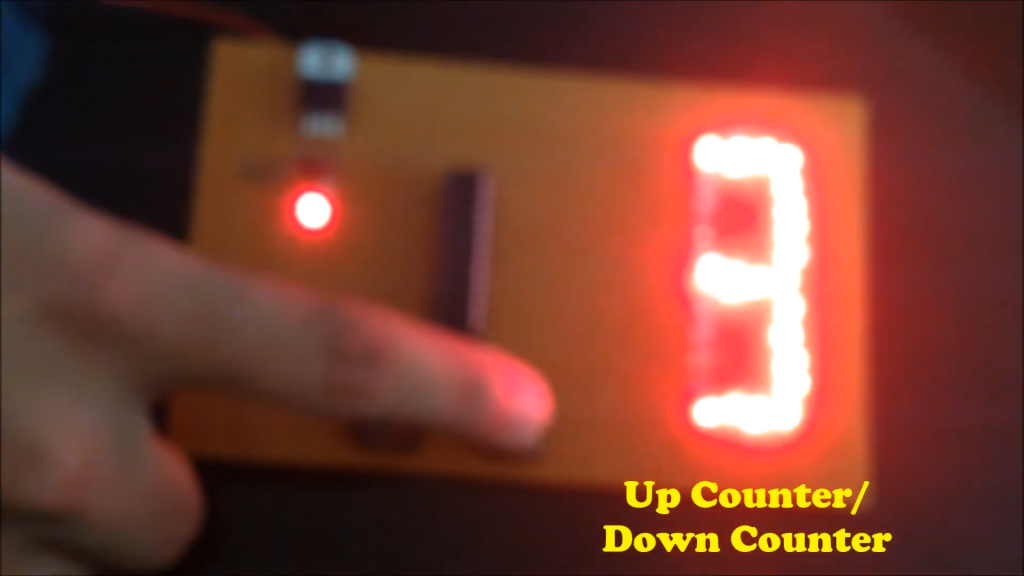
The up-down counter is an Arduino project using two push buttons, a resistor, and a seven-segment display. One push button increments the count from 0 to 9, while the other decrements it from 9 back to 0. Pressing the increment button increases the count, displaying each number sequentially on the seven-segment display. Upon reaching 9, pressing the decrement button initiates the countdown, displaying numbers in reverse order until returning to 0. This iterative process continues as long as the respective buttons are pressed. The resistor ensures proper operation of the push buttons within the circuit, safeguarding the Arduino from potential damage and maintaining reliable performance. Up-down counter project not only illustrates fundamental counting logic but also provides practical experience in interfacing a seven-segment display with Arduino and managing user input through push buttons. It serves as an ideal hands-on introduction for beginners aiming to develop their skills in electronics and Arduino programming.
Components used in this project are:
- Arduino UNO with cable
- Seven Segment display
- 330ohm resistor
- 10k ohm resistor x 2
- Breadboard
- Push button x 2
- LED
- Jumper Wires – Male to female x 18
Featured Image:
Pin Connection:
Seven-Segment Display:
- Connect to Arduino:
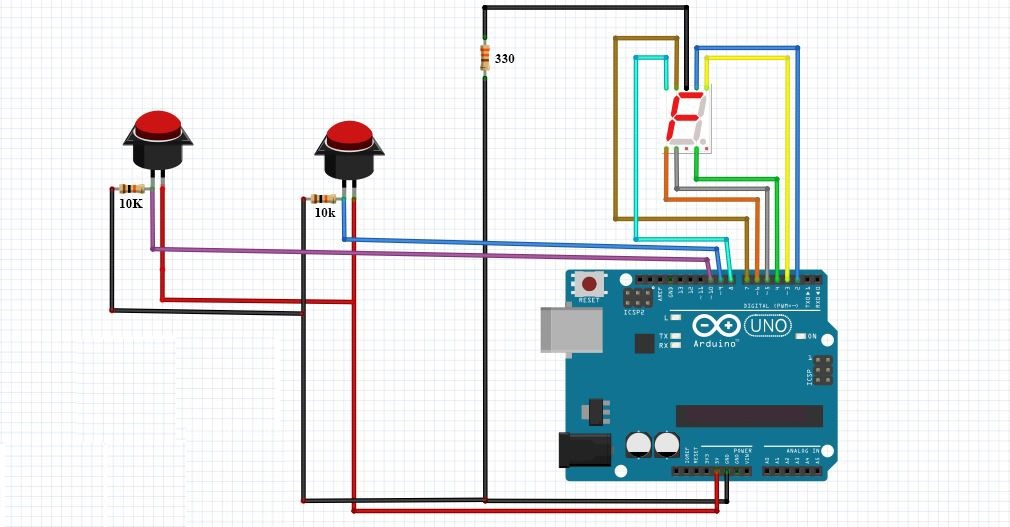
- Connect the common cathode pin of the seven-segment display to GND.
- Connect each segment pin (A to G) of the seven-segment display to digital pins on the Arduino (e.g., A to Pin 2, B to Pin 3, etc.).
Push Buttons:
- Connect to Arduino:
- Connect one terminal of each push button to a digital pin on the Arduino (e.g., Increment button to Pin 9, Decrement button to Pin 10).
- Connect the other terminal of each push button to GND through a resistor (e.g., 10kΩ).
Power Supply:
- Arduino: Connect the Arduino Uno to your computer via USB for power.
- Seven-Segment Display: Ensure the Arduino and the seven-segment display share a common ground.
Circuit Diagram:
Code:
//Install the SevSeg library from library manager

#include "SevSeg.h"

SevSeg S;
byte CommonPins[] = {};            // common pin numbers for multi-digit display
byte SegPins[] = {2,3,4,5,6,7,8};  // 7-segment display pins in the order,{a,b,c,d,e,f,g,dp}

int btn1=9;   //button for increment
int btn2=10;  //button for decrement
int cnt=0;
int incPrev, decPrev;

void setup()
{
  // Syntax
  // begin(COMMON_CATHODE, NumberOfDigits, CommonPins[], SevenSegPins[], resistorUsed);

  S.begin(COMMON_CATHODE, 1, CommonPins, SegPins, 1);
  pinMode(9, INPUT);
  pinMode(10, INPUT);
}

void loop()
{
    int inc = digitalRead(9);
    int dec = digitalRead(10);

    //Increment
    if((inc == HIGH) && (cnt < 9) && (inc != incPrev ))
    {
      delay(100);
      cnt++;
    }

     //Decrement
    if((dec == HIGH) && (cnt >0) && (dec != decPrev))
    {
      delay(100);
      cnt--;
    }

    //Logic to print digit/character on 7 segment display
    S.setNumber(cnt);
    S.refreshDisplay();
    delay(100);

    //storing the button states
    incPrev = inc;
    decPrev = dec;

}


