Project Description:
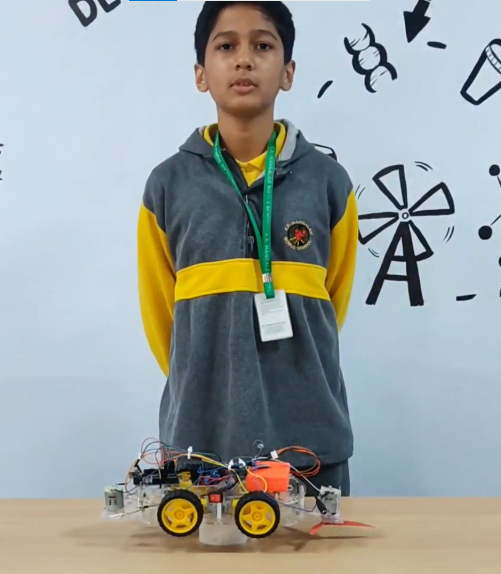
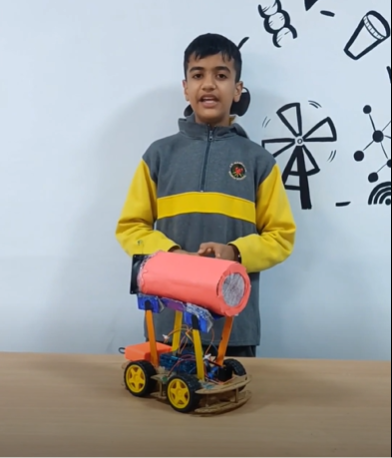
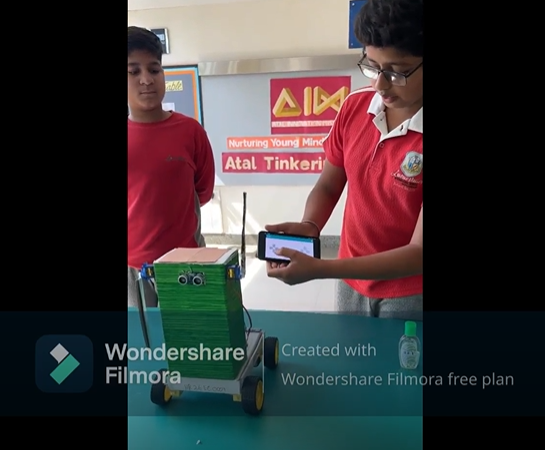
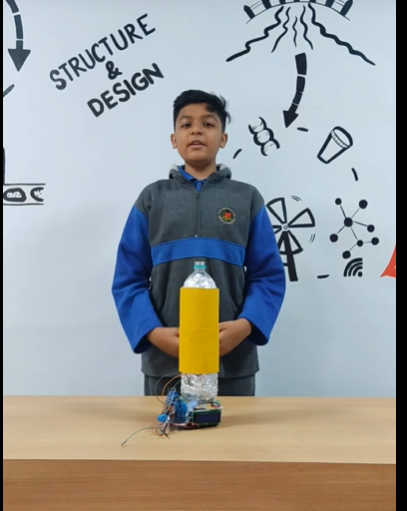
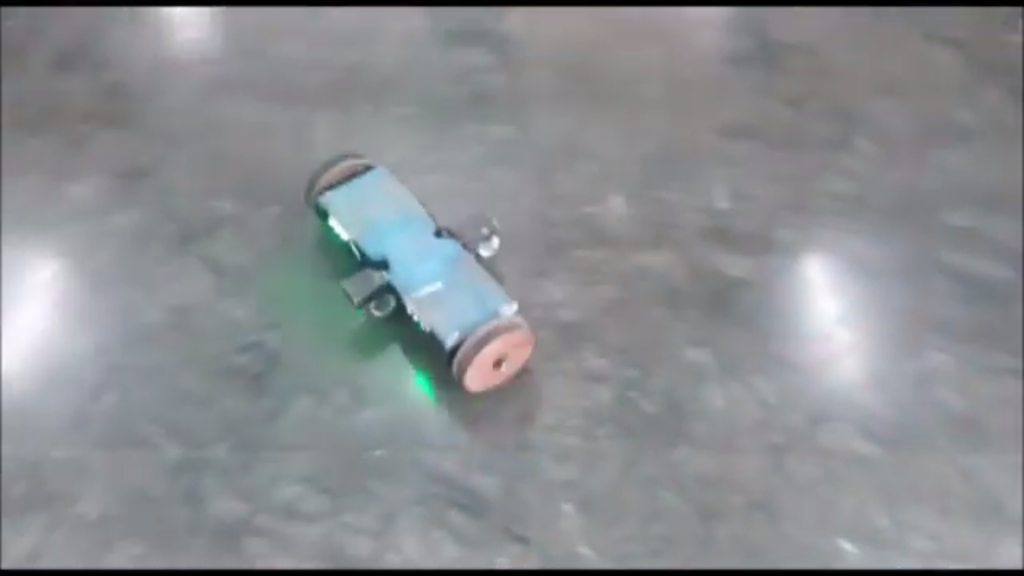
Hoverboard project involves creating a remote control hoverboard using an Arduino and a Bluetooth module. The hoverboard will be controlled via a smartphone or other Bluetooth-enabled device, and it uses DC motors for propulsion. The project demonstrates the principles of remote control systems, motor control, and Arduino programming. This project is ideal for students and hobbyists interested in robotics and remote-controlled vehicles.
Components Required:
- Arduino Uno with cable x 1
- Motor Driver L298N x 1
- DC Motors x 2
- Bluetooth Module HC-05 x 1
- Jumper Wires – Male to Female x 14
– Male to Male x 2 - Chassis for hoverboard x 1
- Wheels x 3
- Power supply 12v Li-ion battery 18650 x 1
Learning Outcomes
- Introduction to Robotics: Understand the basics of robotic movement and control using DC motors and Arduino.
- Hands-On Engineering: Gain experience in assembling a functional remote-controlled vehicle.
- STEM Integration: Explore the integration of multiple components (motors, controllers, communication modules) in a project-based learning environment.
- DIY Robotics: Encourage creativity and problem-solving by allowing students to create their small DIY robots, combining education and entertainment.
This project will result in a fun and interactive remote-controlled hoverboard, providing an excellent introduction to robotics, motor control, and Bluetooth communication.
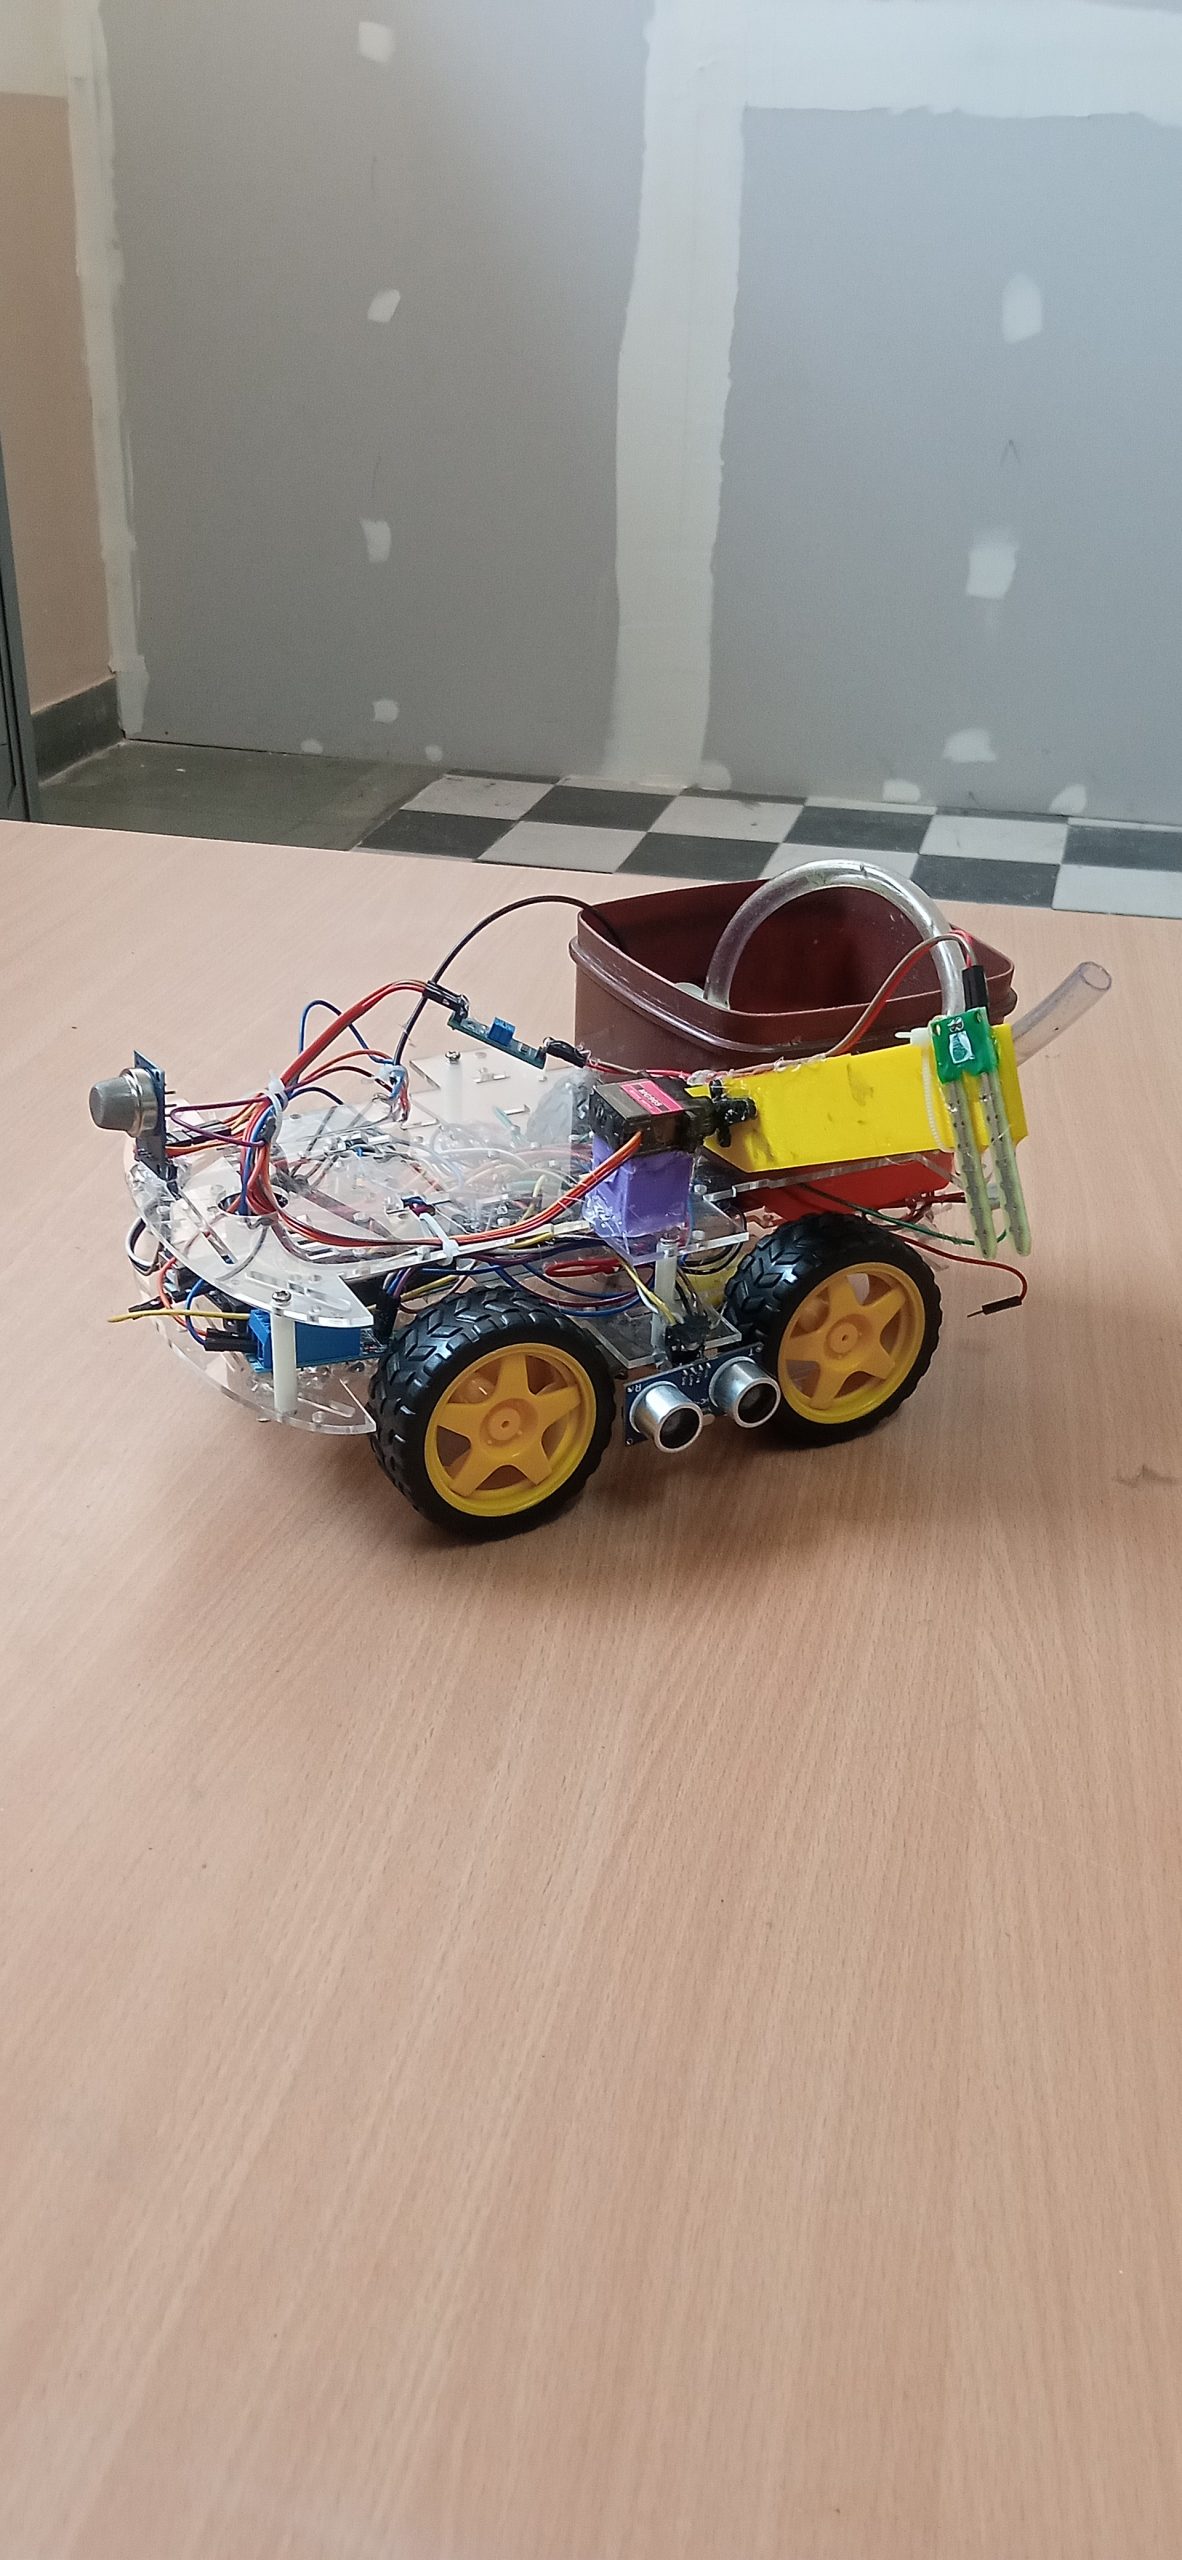
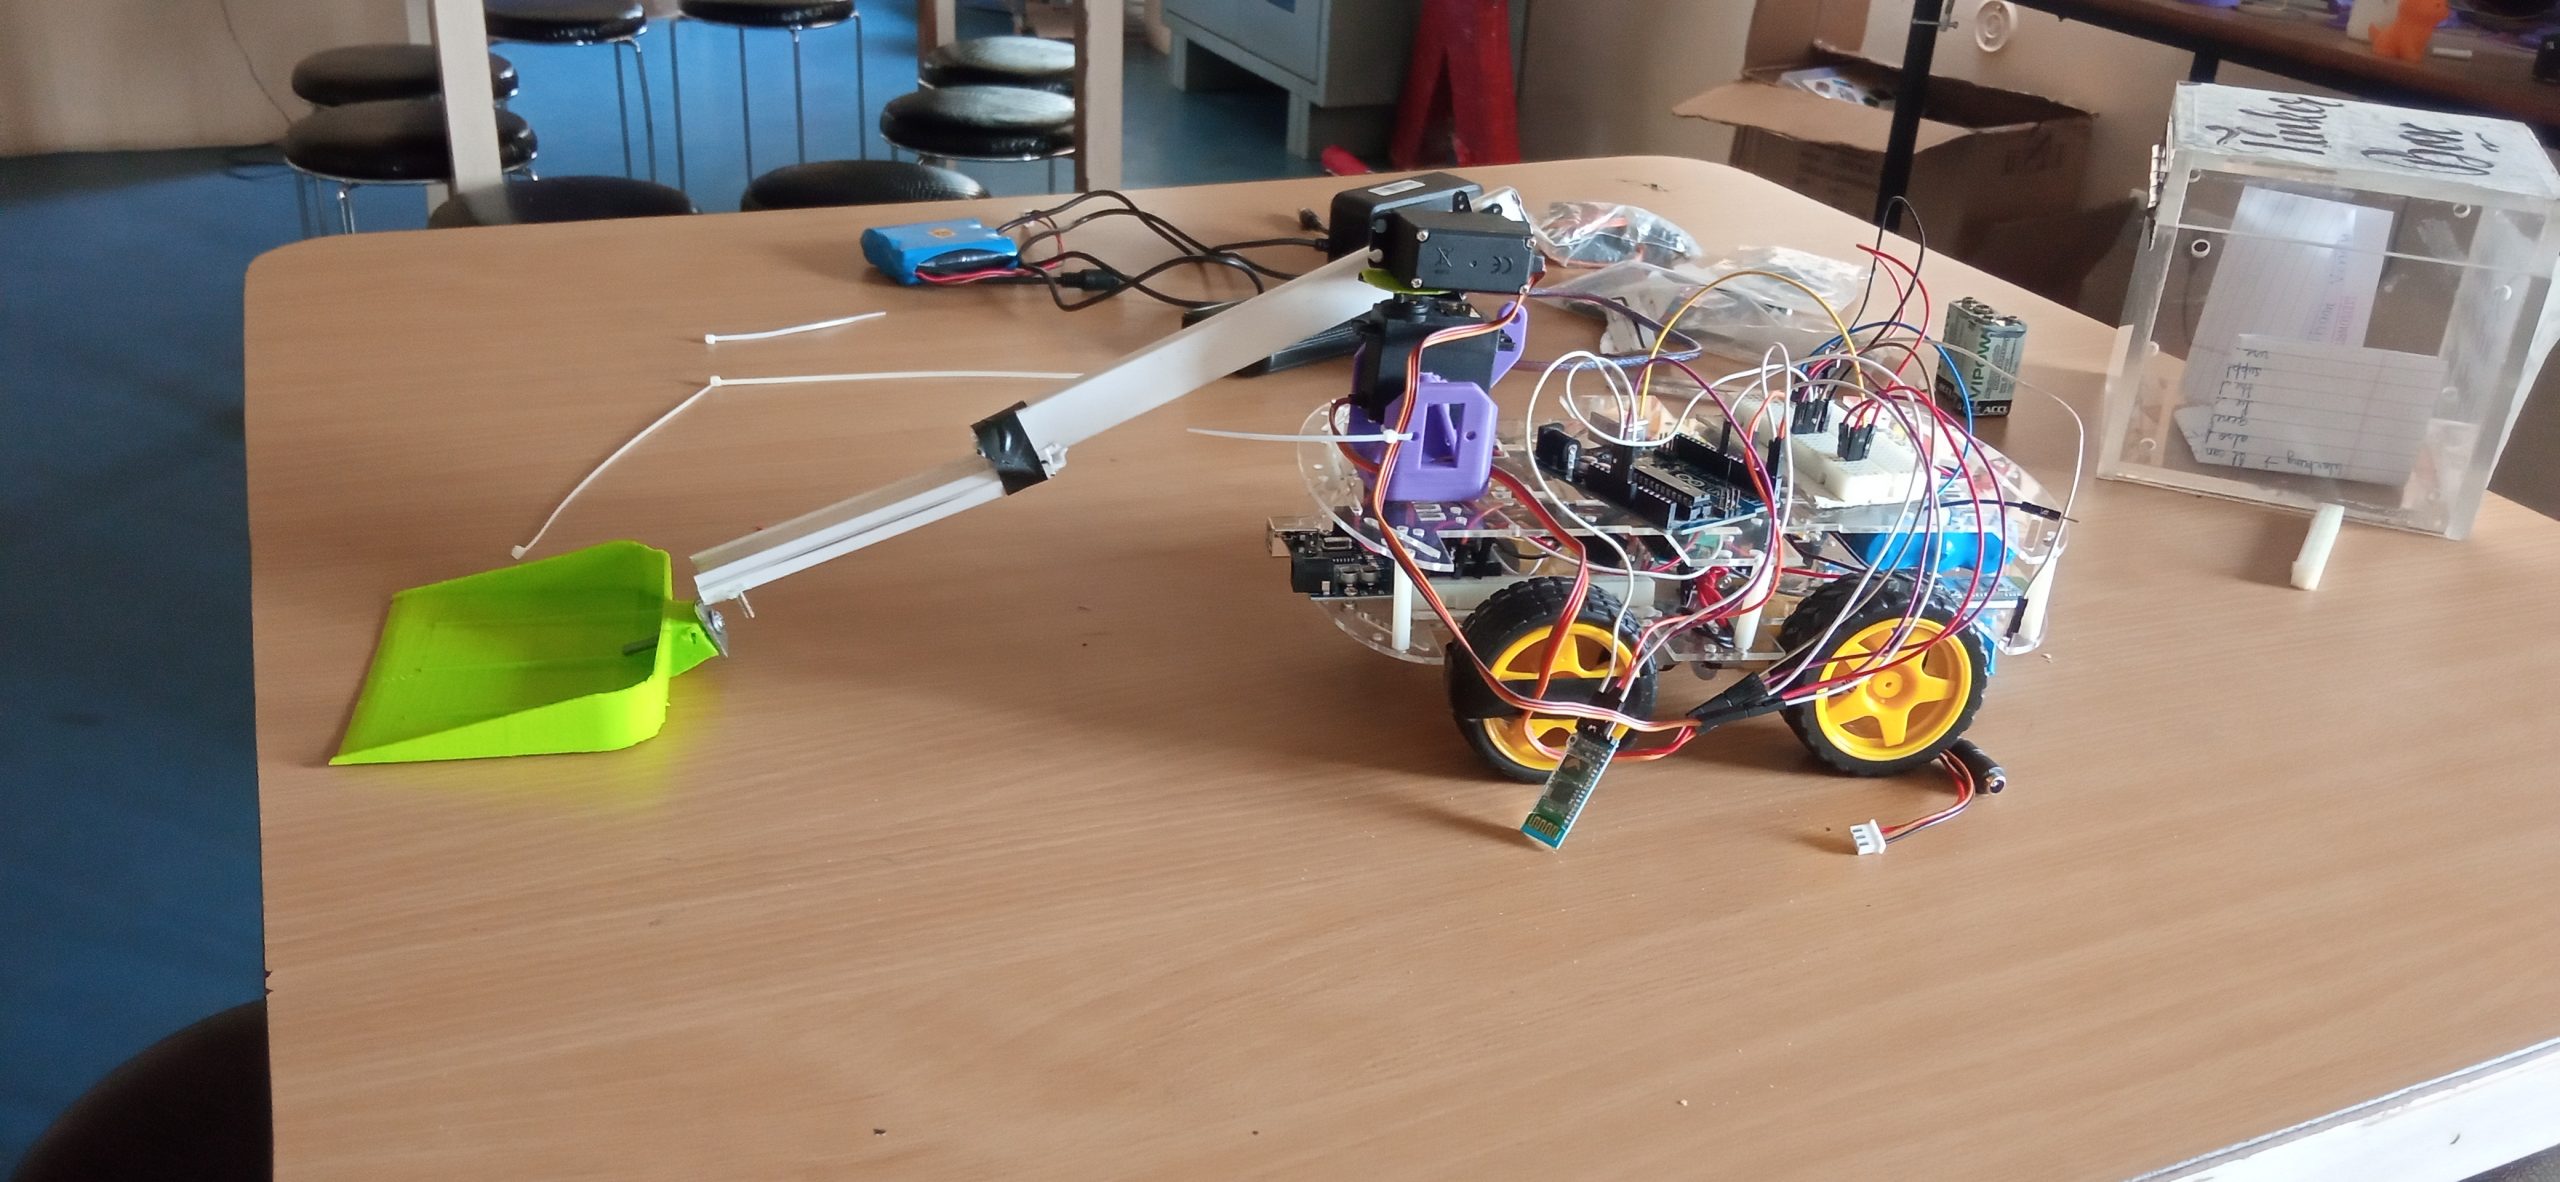
IMAGE:
Connections:
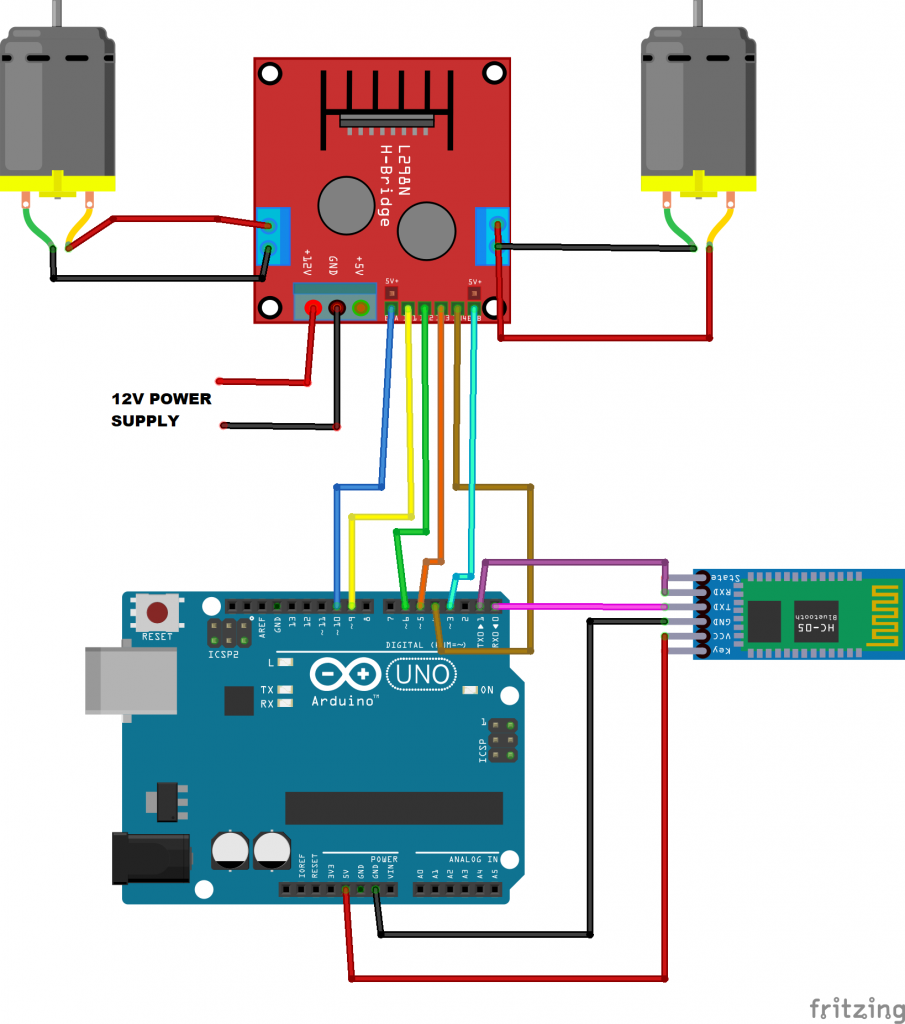
Motor Connections: Connect the two DC motors to the motor outputs on the motor driver module (OUT1, OUT2 for motor 1, and OUT3, OUT4 for motor 2).
Motor Driver to Arduino:
- IN1 (Motor A control pin 1) to Arduino Digital Pin 9
- IN2 (Motor A control pin 2) to Arduino Digital Pin 6
- IN3 (Motor B control pin 1) to Arduino Digital Pin 5
- IN4 (Motor B control pin 2) to Arduino Digital Pin 4
- ENA (Motor A enable pin) to Arduino Digital Pin 10
- ENB (Motor B enable pin) to Arduino Digital Pin 3
Bluetooth Module Connections:
- Connect the VCC pin of the Bluetooth module to the 5V pin on the Arduino.
- Connect the GND pin of the Bluetooth module to the GND pin on the Arduino.
- Connect the RX pin of the Bluetooth module to Arduino Digital Pin 1 (TX of Arduino).
- Connect the TX pin of the Bluetooth module to Arduino Digital Pin 0 (RX of Arduino).
Motor Driver L298N:

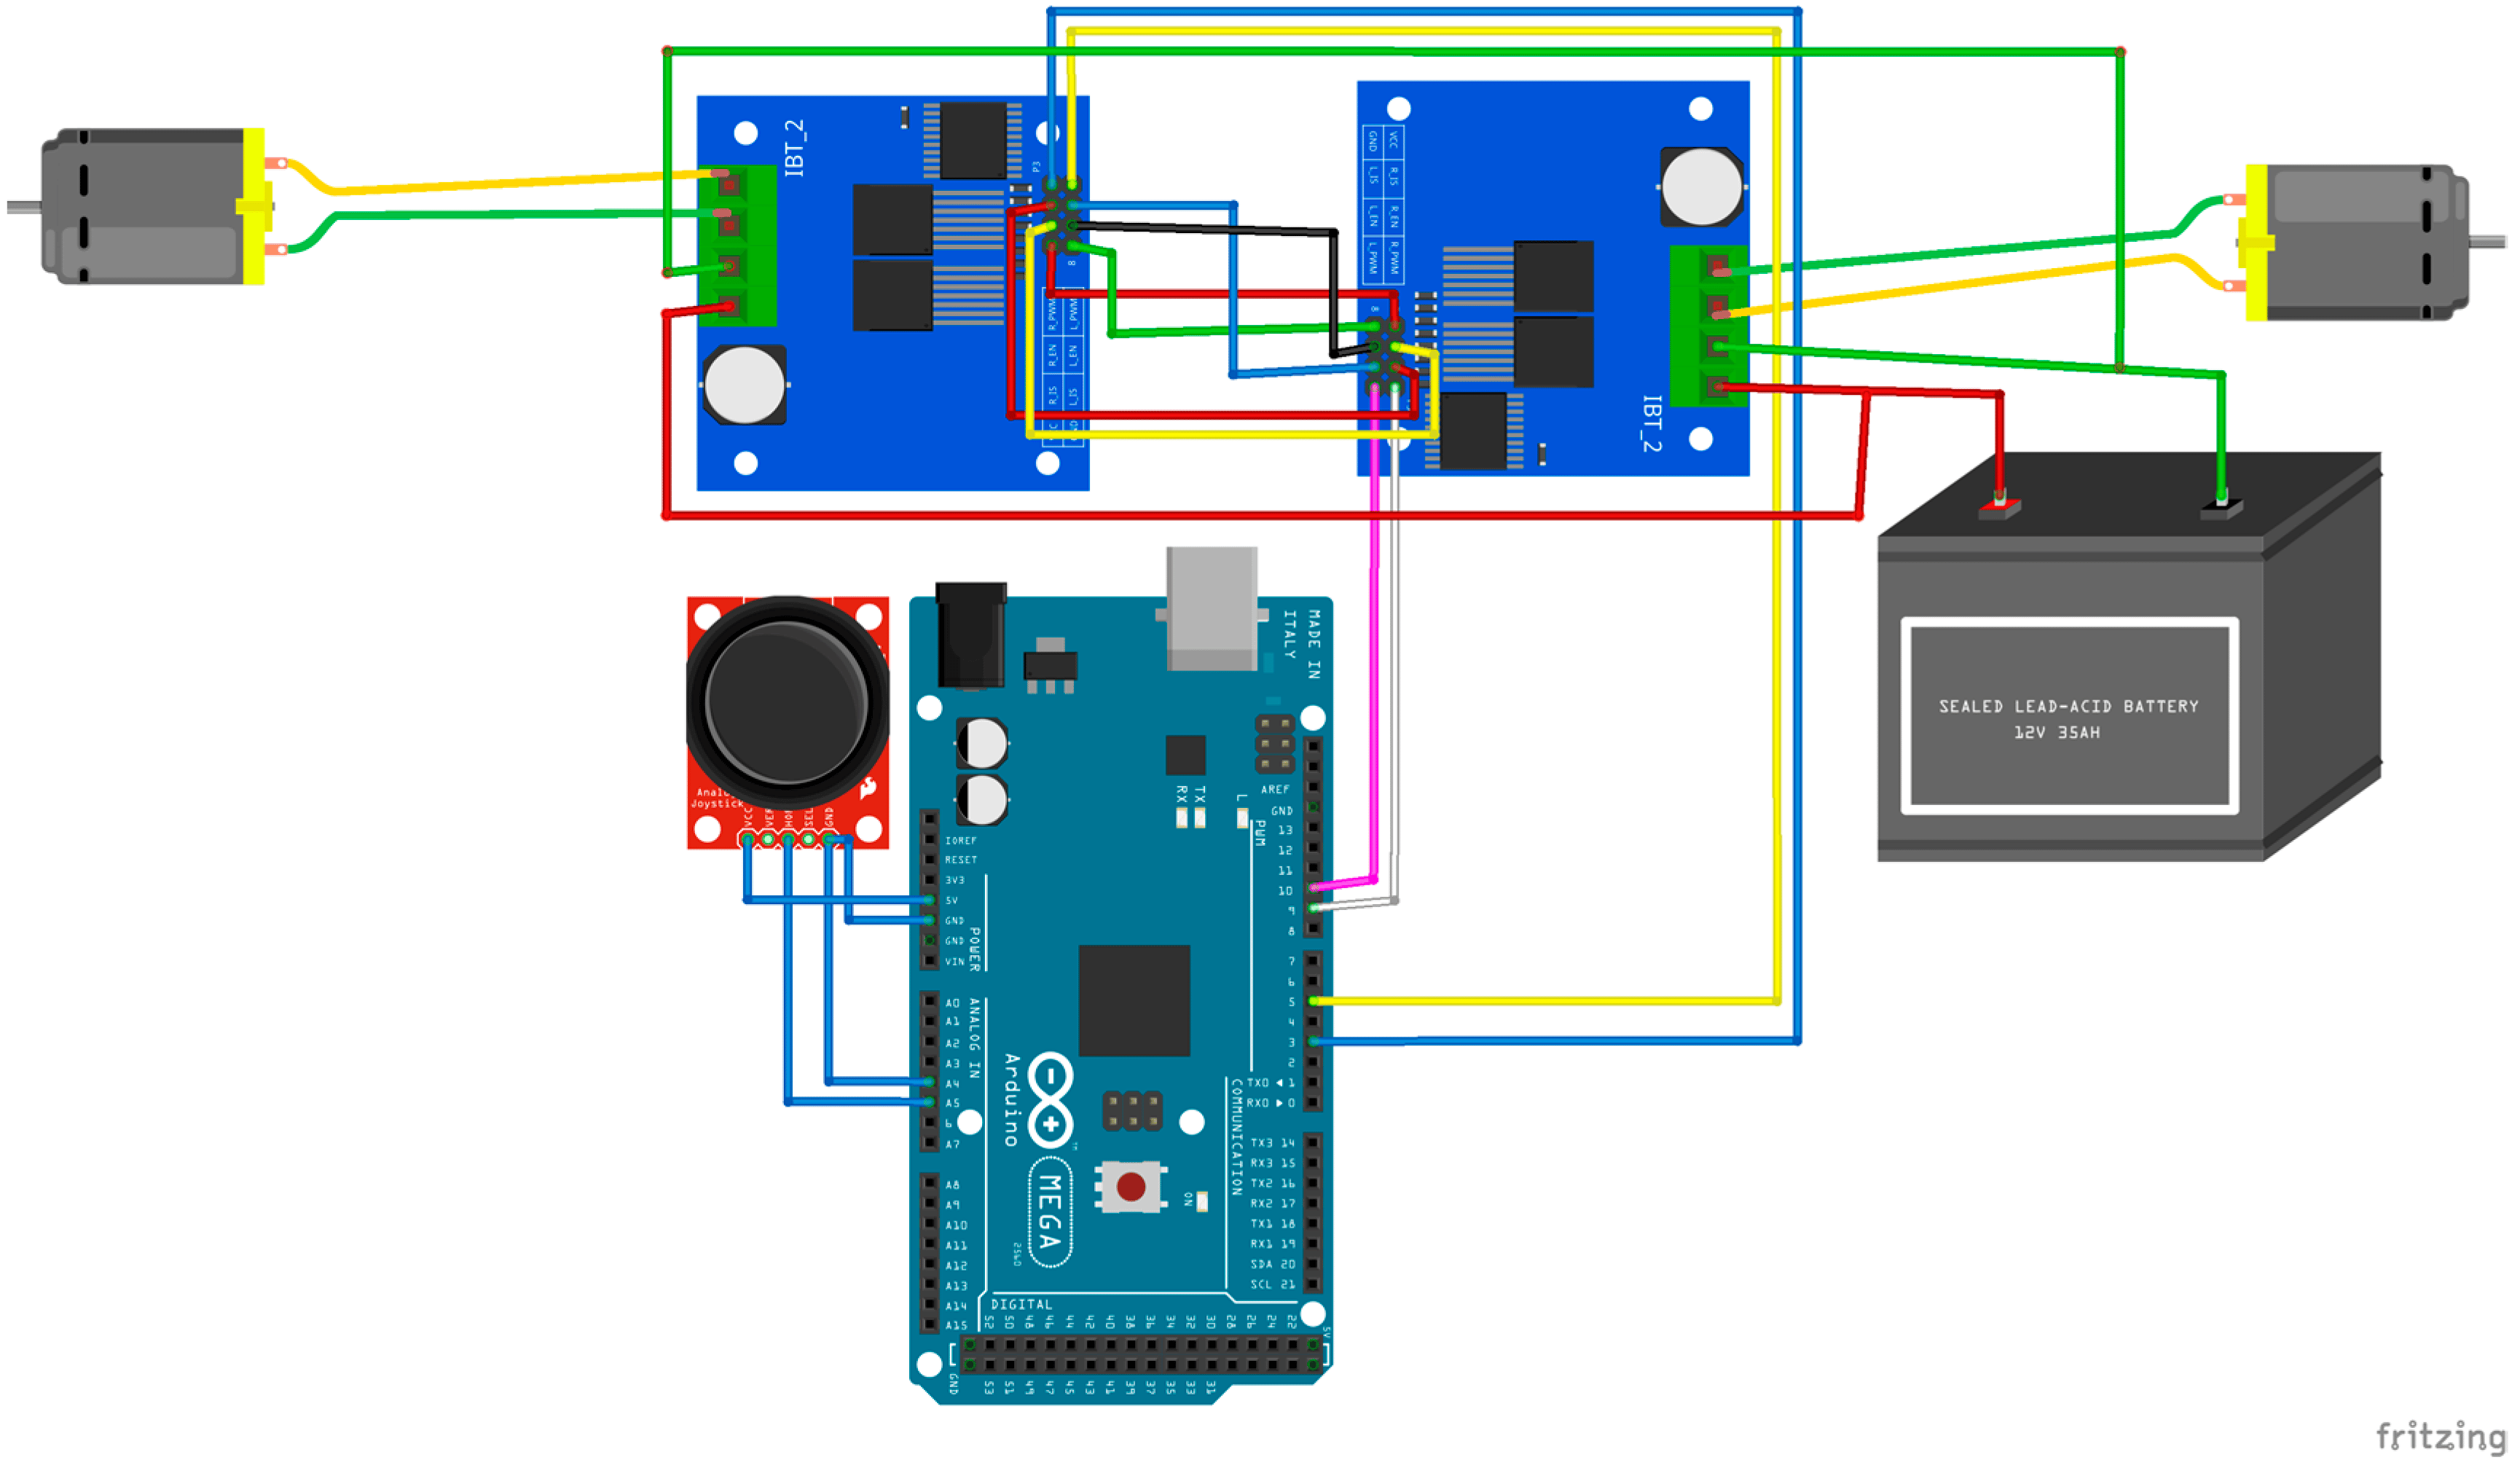
CIRCUIT DIAGRAM:
CODE:
const int motorPinA1 = 9;
const int motorPinA2 = 6;
const int motorPinB1 = 5;
const int motorPinB2 = 4;
const int enablePinA = 10;
const int enablePinB = 3;

void setup() {
  pinMode(motorPinA1, OUTPUT);
  pinMode(motorPinA2, OUTPUT);
  pinMode(motorPinB1, OUTPUT);
  pinMode(motorPinB2, OUTPUT);
  pinMode(enablePinA, OUTPUT);
  pinMode(enablePinB, OUTPUT);

  Serial.begin(9600);  // Initialize Bluetooth communication
}

void loop() {
  if (Serial.available() > 0) {
    char command = Serial.read();
    switch (command) {
      case 'F':
        moveForward();
        break;
      case 'B':
        moveBackward();
        break;
      case 'L':
        turnLeft();
        break;
      case 'R':
        turnRight();
        break;
      case 'S':
        stop();
        break;
    }
  }
}

void moveForward() {
  digitalWrite(motorPinA1, HIGH);
  digitalWrite(motorPinA2, LOW);
  digitalWrite(motorPinB1, HIGH);
  digitalWrite(motorPinB2, LOW);
  analogWrite(enablePinA, 255);
  analogWrite(enablePinB, 255);
}

void moveBackward() {
  digitalWrite(motorPinA1, LOW);
  digitalWrite(motorPinA2, HIGH);
  digitalWrite(motorPinB1, LOW);
  digitalWrite(motorPinB2, HIGH);
  analogWrite(enablePinA, 255);
  analogWrite(enablePinB, 255);
}

void turnLeft() {
  digitalWrite(motorPinA1, LOW);
  digitalWrite(motorPinA2, HIGH);
  digitalWrite(motorPinB1, HIGH);
  digitalWrite(motorPinB2, LOW);
  analogWrite(enablePinA, 255);
  analogWrite(enablePinB, 255);
}

void turnRight() {
  digitalWrite(motorPinA1, HIGH);
  digitalWrite(motorPinA2, LOW);
  digitalWrite(motorPinB1, LOW);
  digitalWrite(motorPinB2, HIGH);
  analogWrite(enablePinA, 255);
  analogWrite(enablePinB, 255);
}

void stop() {
  digitalWrite(motorPinA1, LOW);
  digitalWrite(motorPinA2, LOW);
  digitalWrite(motorPinB1, LOW);
  digitalWrite(motorPinB2, LOW);
  analogWrite(enablePinA, 0);
  analogWrite(enablePinB, 0);
}

