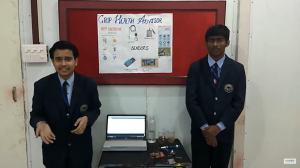
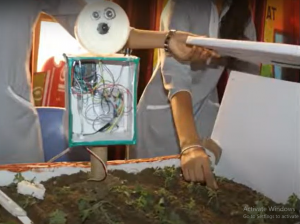
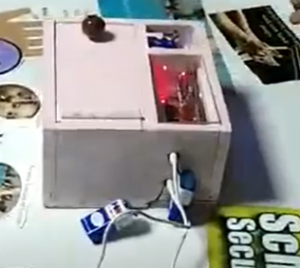
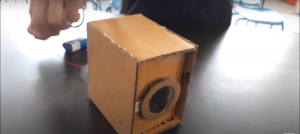
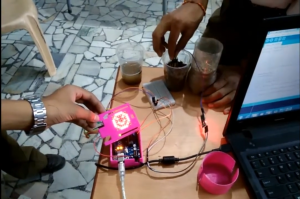
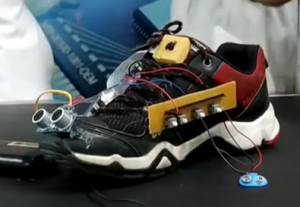
The Pesti Sprayer System project is an innovative solution designed to detect and manage pest activity. The system operates by utilizing an ultrasonic sensor to measure the distance to objects or pests. When a pest is detected within a predefined distance threshold, the system activates both a buzzer and a water pump. The buzzer provides an audible alert, while the pump sprays water as a deterrent against pests. After a brief period of activation, both the buzzer and pump are deactivated automatically, Pesti Sprayer System project for school student
Components Required:
- Arduino Uno
- Ultrasonic Sensor (HC-SR04)
- Buzzer
- Breadboard and Jumper wires
- Water Pump
Components Description:
1. Arduino Uno:
- Function: Central microcontroller that controls the operation of the system.
- Description: It processes data from the ultrasonic sensor and controls the activation of the buzzer and water pump based on predefined conditions.
2. Ultrasonic Sensor (HC-SR04):
- Function: Measures distance by emitting ultrasonic waves and calculating the time taken for the echo to return.
- Description: Consists of two main parts:
- Transmitter (Trig Pin): Sends out ultrasonic pulses.
- Receiver (Echo Pin): Receives the reflected waves and calculates distance using the speed of sound.
3. Buzzer:
- Function: Produces audible alerts or signals.
- Description: When activated by the Arduino, it emits sound signals to alert users of detected pests within the specified range.
4. Water Pump:
- Function: Sprays water as a deterrent against detected pests.
- Description: Activated by the Arduino upon detecting pests within the preset distance threshold, the pump helps in pest control by providing a physical deterrent.
5. Power Supply:
- Function: Supplies electrical power to the Arduino and connected components.
- Description: Can be powered via USB connection to a computer or an external power adapter, ensuring reliable operation of the entire system.
Circuit Connection:
- Ultrasonic Sensor (HC-SR04):
- Connect VCC to Arduino 5V.
- Connect GND to Arduino GND.
- Connect Trig to Arduino digital pin 4.
- Connect Echo to Arduino digital pin 3.
- Buzzer:
- Connect one pin to Arduino digital pin 2.
- Connect the other pin to GND.
- Water Pump:
- Connect one pin to Arduino digital pin 5.
- Connect the other pin to GND.
- Power Supply:
- Ensure Arduino is powered via USB or an external power source.
// Include Libraries
#include "Arduino.h"
#include "NewPing.h"
// Pin Definitions
#define BUZZER_PIN_SIG 2
#define HCSR04_PIN_TRIG 4
#define HCSR04_PIN_ECHO 3
#define WATERPUMP_PIN 5
// Constants
#define MAX_DISTANCE 200 // Maximum distance we want to ping for (in centimeters)
#define DISTANCE_THRESHOLD 50 // Distance threshold for triggering the sprayer (in centimeters)
// Object initialization
NewPing sonar(HCSR04_PIN_TRIG, HCSR04_PIN_ECHO, MAX_DISTANCE);
// Setup the essentials for your circuit to work. It runs first every time your circuit is powered with electricity.
void setup() {
// Setup Serial for debugging
Serial.begin(9600);
// Initialize buzzer and pump pin as outputs
pinMode(BUZZER_PIN_SIG, OUTPUT);
pinMode(WATERPUMP_PIN, OUTPUT);
Serial.println("Pesti Sprayer System Initialized");
}
// Main logic of your circuit. It defines the interaction between the components you selected. After setup, it runs over and over again, in an eternal loop.
void loop() {
// Read distance measurement from ultrasonic sensor
int distance = sonar.ping_cm();
Serial.print("Distance: ");
Serial.print(distance);
Serial.println(" cm");
// Check if the detected distance is within the threshold
if (distance > 0 && distance <= DISTANCE_THRESHOLD) {
// Activate the buzzer and the pump
digitalWrite(BUZZER_PIN_SIG, HIGH);
digitalWrite(WATERPUMP_PIN, HIGH);
Serial.println("Pest detected! Spraying water...");
// Keep the pump and buzzer on for 2 seconds
delay(2000);
// Deactivate the buzzer and the pump
digitalWrite(BUZZER_PIN_SIG, LOW);
digitalWrite(WATERPUMP_PIN, LOW);
Serial.println("Spraying complete");
}
// Short delay before next sensor reading
delay(500);
}